Nov
Growing garlic at home is one of the most satisfying things a gardener can do — few crops are as rewarding, aromatic, and useful in the kitchen. But here’s the catch: while garlic (Allium sativum) is easy to grow, it’s also easy to get wrong. Many home gardeners make simple, avoidable mistakes that lead to tiny bulbs, weak plants, or disappointing harvests.
After more than a decade of planting garlic across different U.S. climates, I’ve seen it all — from cloves sprouting too soon before winter, to soggy soil that rotted entire rows overnight. If you’re like me and go through garlic faster than coffee, why not grow your own the right way?
In this guide, we’ll go through the 10 most common garlic planting mistakes and how to fix them so you can enjoy big, healthy bulbs that last all year long.
Let’s dig in!
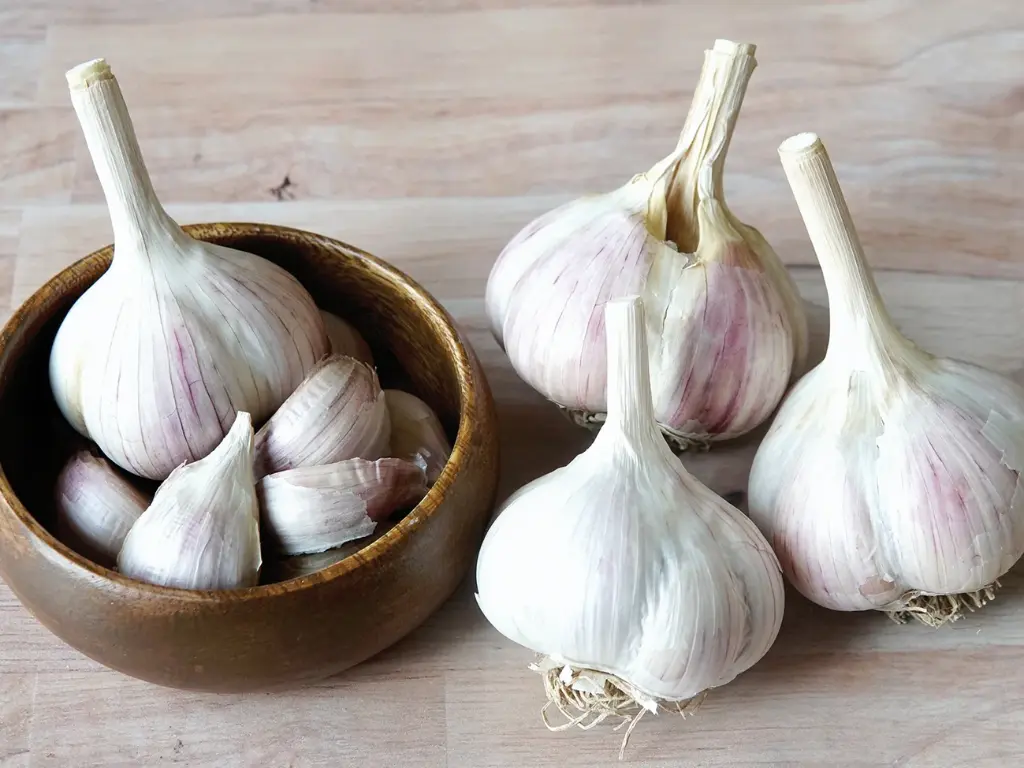
1. Choosing the Wrong Garlic to Plant
One of the biggest rookie mistakes gardeners make is planting store-bought garlic. It seems convenient, but those supermarket bulbs are often imported, treated with growth inhibitors to prevent sprouting, and may even carry soil-borne diseases like white rot (Sclerotium cepivorum). Once that fungus gets into your garden soil, it can linger for years — a disaster waiting to happen.
Instead, always buy certified seed garlic from a reputable source such as local farms or trusted seed suppliers. These bulbs are grown specifically for planting and are disease-free.
When choosing your variety, make sure it suits your USDA hardiness zone. Hardneck garlic (like Rocambole or Purple Stripe) thrives in colder climates and produces flavorful scapes in the spring. Softneck garlic (like Artichoke or Silverskin) does better in warmer southern states and stores longer after harvest.
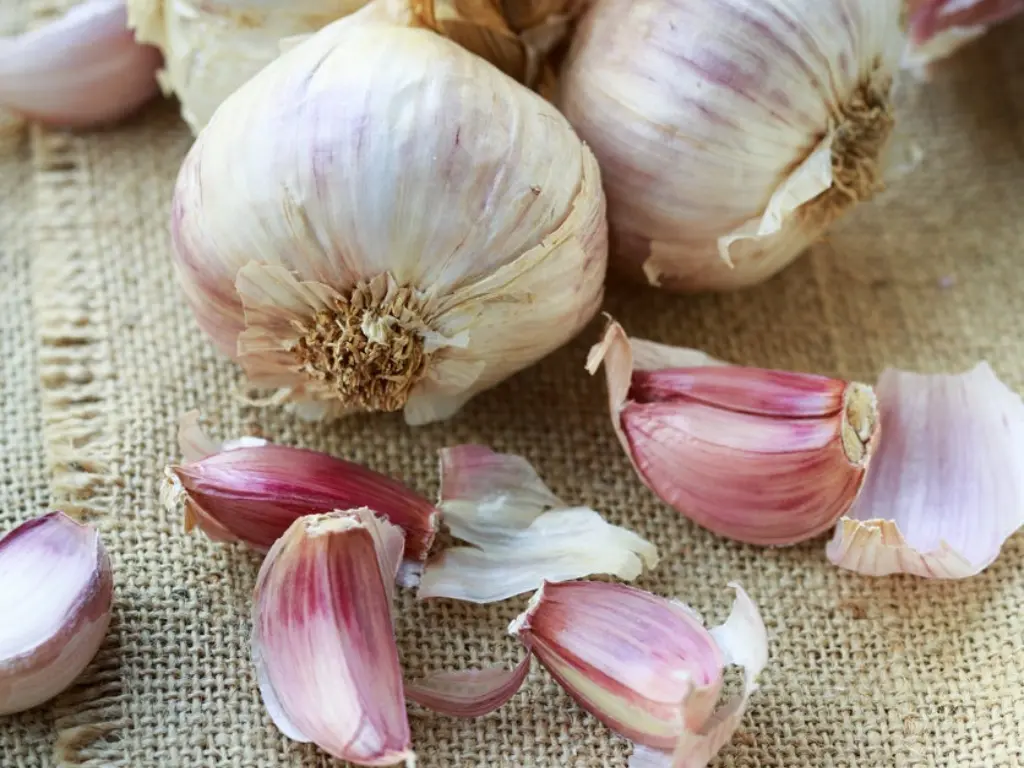
Pro tip: Look for seed bulbs that are firm, plump, and have large, healthy cloves. Bigger cloves grow into bigger bulbs, it’s that simple.
Read more: Best Types of Garlic You Must Grow Once in Your Garden
2. Planting at the Wrong Time
Timing is everything with garlic.
In most parts of the U.S., fall is the best time to plant garlic — typically from mid-September through November, depending on your region.
Garlic needs several weeks of cool soil (around 40°F) to develop strong roots before winter sets in.
Plant too early? The shoots may emerge, then freeze.
Plant too late? Roots won’t establish properly, leading to stunted bulbs.
Best practice:
Check your average first frost date and plant 4–6 weeks before it. For example:
-
Zone 5–6: Early to mid-October
-
Zone 7–8: Late October to early November
If you must plant in spring, pre-chill the cloves in the fridge for 6–8 weeks to mimic winter (this process is called vernalization).
You may like: When and How to Plant Garlic in Fall for Best Results
3. Ignoring Soil Preparation
Garlic has strong opinions about its soil.
If your garden bed is heavy clay or compacted, you’re setting yourself up for failure.
Garlic prefers loose, well-draining soil with plenty of organic matter and a slightly acidic to neutral pH (6.0–7.0). Poor drainage causes bulb rot — one of the most frustrating garlic planting problems.
To avoid this mistake:
-
Mix in aged compost or well-rotted manure before planting.
-
Avoid fresh manure — it’s too “hot” and can burn your cloves.
-
If your soil is clay-heavy, build raised beds or add sand for better drainage.
A simple soil test kit can tell you if you need to adjust pH or nutrients. Garlic is a heavy feeder, so it appreciates a balanced organic fertilizer at planting.
4. Planting Cloves Too Shallow or Too Deep
Depth matters more than you think.
If you plant your cloves too shallow, the freeze-thaw cycles (called frost-heave) can push them right out of the ground.
Plant too deep, and they’ll struggle to emerge in spring.
The sweet spot:
Plant each clove 3–5 inches deep (7–12 cm), depending on soil texture.
Sandy soils can handle deeper planting; in heavier soils, go shallower.
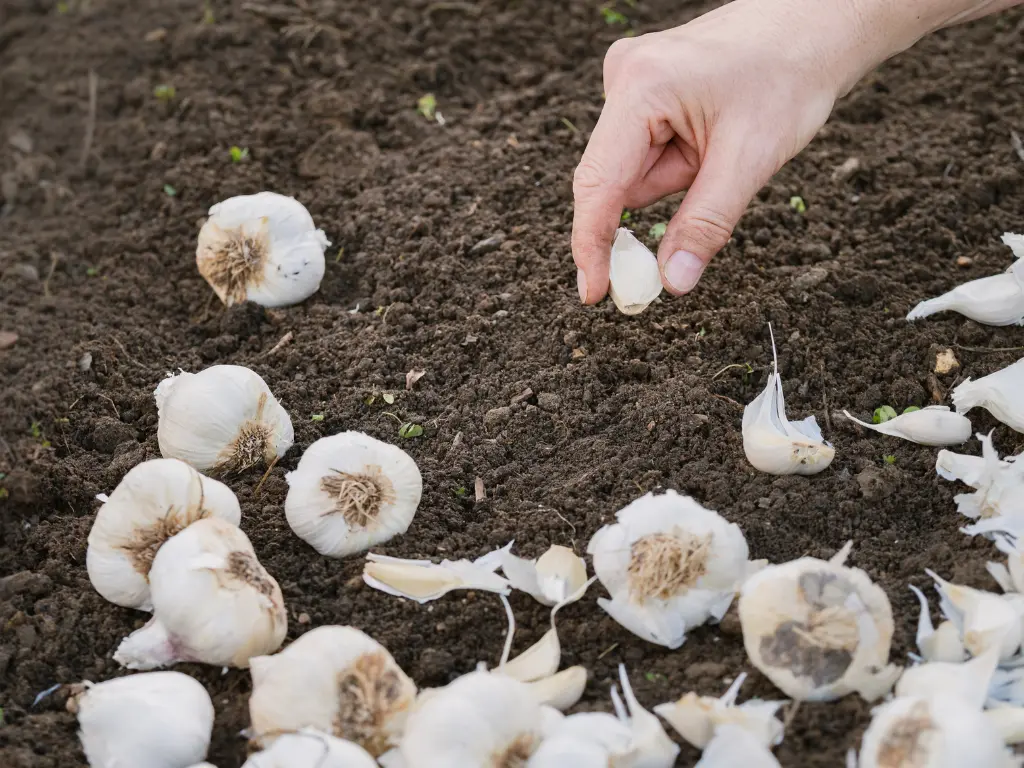
Always plant with the pointy end up — that’s where the shoot emerges. It might sound obvious, but you’d be surprised how often this gets mixed up.
5. Planting Too Close Together
Overcrowding is another common garlic planting error.
Garlic needs space to develop those fat bulbs we all want.
When cloves are too close (less than 4 inches apart), they compete for water and nutrients, producing small, cramped bulbs.
Proper spacing:
-
Cloves: 4–6 inches apart
-
Rows: 10–12 inches apart
This spacing also helps improve air circulation, reducing fungal diseases and weed competition.
Remember — in gardening, less is often more.
6. Skipping Mulch or Ignoring Weeds
If you plant garlic and walk away, weeds will quickly move in — and garlic is a terrible fighter.
Uncontrolled weeds steal nutrients and moisture, leading to smaller bulbs.
Meanwhile, unmulched soil dries out, crusts over, or suffers from winter temperature swings.
Here’s what to do:
-
After planting, cover the bed with 3–4 inches of mulch (straw, shredded leaves, or pine needles).
-
Mulch keeps soil moist, insulates against cold, and suppresses weeds.
Come spring, gently pull the mulch back as shoots appear. Keep the bed weed-free — your garlic will thank you.
7. Over- or Under-Fertilizing
Garlic needs nutrients, but too much of the wrong thing can backfire.
Too much nitrogen, especially early on, encourages lush green leaves but small bulbs.
Too little, and your plants will be weak and pale.
Balanced feeding plan:
-
Mix a slow-release organic fertilizer (like 10-10-10 or a compost-based blend) at planting.
-
In early spring, side-dress with blood meal or fish emulsion for nitrogen boost.
-
Stop fertilizing once the bulbs start forming — usually around late May.
This keeps your plants focused on growing bigger bulbs instead of endless leaves.
8. Poor Watering Habits
Water is another area where many gardeners go wrong.
Garlic needs consistent moisture — not too much, not too little.
Over-watering causes bulb rot and fungal problems. Under-watering leads to small bulbs and premature yellowing.
Watering tips:
-
Keep soil evenly moist (but never soggy).
-
Aim for about 1 inch of water per week from rainfall or irrigation.
-
As harvest time nears (late June or July), reduce watering for two weeks. This helps the bulbs cure naturally underground and store better.
If your soil drains poorly, raised beds or well-aerated compost will help prevent soggy roots.
9. Choosing the Wrong Variety for Your Climate
This one’s easy to overlook, but it makes a huge difference.
In colder northern states, hardneck garlic varieties perform best because they need a cold period to trigger bulb formation. They also produce those delicious scapes — curly green stalks that taste like mild garlic.
In warmer regions (like Texas, Florida, or southern California), softneck garlic is your friend. It doesn’t need a chill period and stores longer after harvest.
Match your climate:
Growing the wrong type for your zone leads to poor yields or no bulb formation at all.
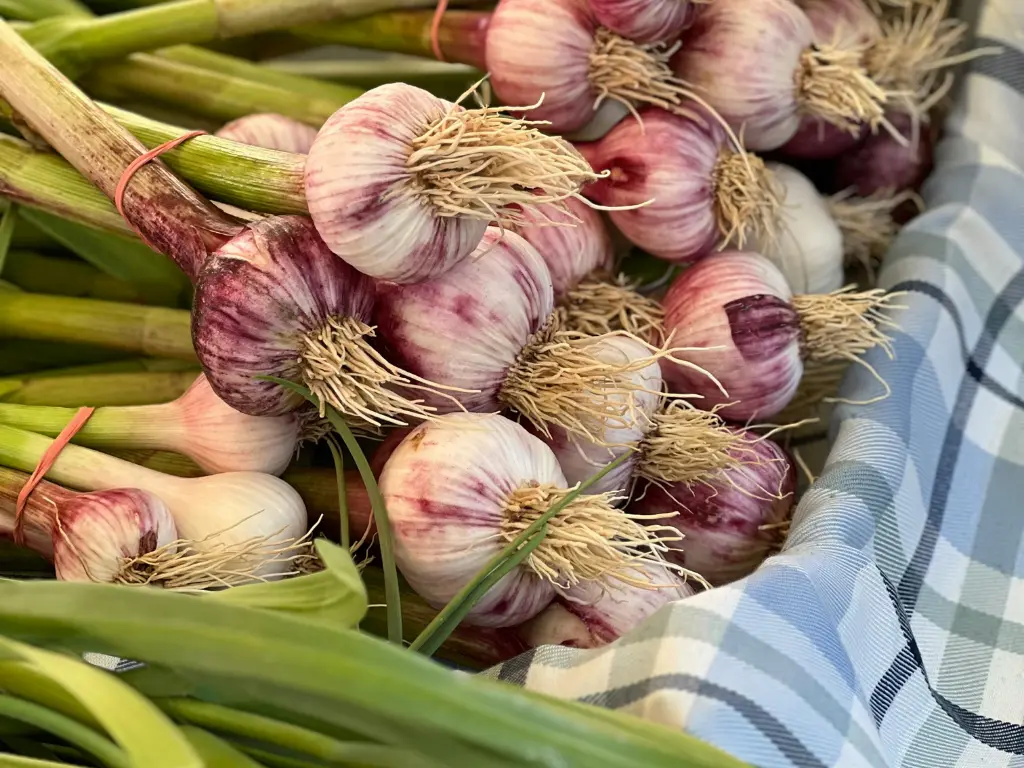
10. Harvesting and Curing at the Wrong Time
After all that work, the last thing you want is to ruin your harvest by timing it wrong.
If you wait too long, bulbs split open in the ground.
Harvest too early, and cloves aren’t fully developed.
The right moment:
-
Watch the leaves. When the bottom third turns brown but the top two-thirds are still green, it’s go time.
-
Use a garden fork to lift the bulbs gently; never yank them.
-
Brush off soil, keep stalks attached, and cure in a dry, shaded, ventilated space for 2–3 weeks.
-
Once the wrappers are papery, trim roots and tops and store in a cool, dark place.
Frequently Asked Questions (FAQ)
1. How deep should I plant garlic cloves for best results?
Plant cloves about 3–5 inches deep (7–12 cm), pointy end up. Deeper planting helps protect from frost-heave in colder zones.
2. Can I plant garlic in spring instead of fall in the U.S.?
Yes, but results are usually smaller. Garlic planted in fall develops stronger roots during the cool months. If you plant in spring, pre-chill your cloves to simulate winter.
3. What’s the best garlic variety for a warm climate?
In southern regions, softneck garlic types like Inchelium Red or California Early thrive. Hardneck varieties prefer cold winters.
4. How do I know when it’s time to harvest garlic?
Check the leaves! When roughly one-third of them are brown, bulbs are ready. Don’t wait too long — split bulbs don’t store well.
Final Thoughts
Avoid these 10 mistakes, and you’ll be well on your way to harvesting plump, flavorful bulbs that make your whole kitchen smell like heaven.
Every year, I still learn something new, maybe I mulch too light or forget to test the soil, but that’s part of the fun of gardening. Garlic rewards patience and care with the best payoff imaginable: your own homegrown bulbs.
So this fall, grab your gloves, prep that soil, and plant your cloves with confidence. Happy planting and may your next harvest be your biggest yet.
You may like:
7 Expert Tips to Grow Lush Ivy Indoors: A Beginner’s Guide
Are you tired of seeing the same old Pothos vines in every corner of your [...]
Feb
7 Reasons Why Tamarillo Trees Are a Garden Must-Have
Once you start growing a garden, you will keep finding more reasons to add more [...]
Jan
Comfrey Companion Planting: What to Grow Next to Your Comfrey Patch?
Have you ever looked at that lush, fast-growing patch of comfrey in the corner of [...]
Jan
7 Vegetables to Plant in December for a Bountiful Winter Harvest
Winter gardening is a challenge many new gardeners shy away from. But if you’re among [...]
Dec
9 Common Christmas Cactus Problems and How to Fix Them
Have you ever walked past your Christmas cactus and wondered why it suddenly looks sad? [...]
Nov
Swedish Ivy Care: How to Grow a Healthy, Thriving Plant
Have you ever looked at your Swedish Ivy and wondered why the leaves are turning [...]
Nov