Jun
Guides
How to Grow Queen of the Night from Cuttings: Easy Step-by-Step Guide
Think growing one queen is enough? Let’s make a whole royal court!
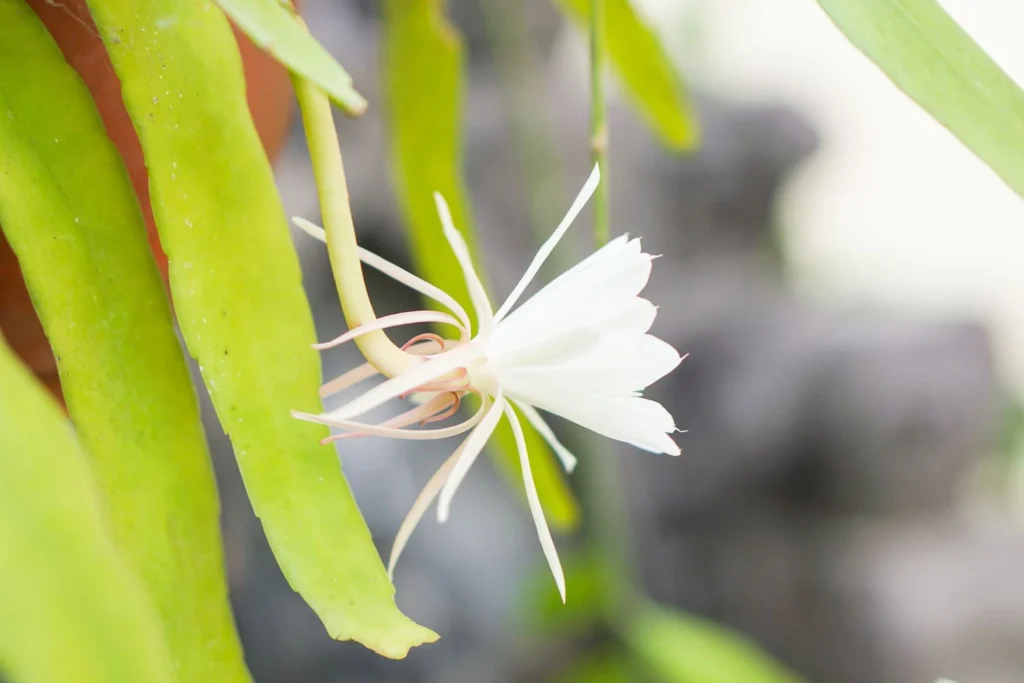
If you’ve got a cutting of the legendary queen of the night cactus (Epiphyllum oxypetalum)—or you’re planning to snag one—then you’re just a few simple steps away from growing your very own night-blooming royalty.
Growing this forest cactus from cuttings is fun, budget-friendly, and a little magical (yes, it blooms in the middle of the night!).
In this guide, I’m going to show you exactly how to grow Queen of the Night from cuttings—step by step, beginner-style, and stress-free.
Read more: Queen of the Night Cactus Care: Secrets to Blooming Success!
What You’ll Need to Get Started
Before you play royal botanist, you’ll want your toolkit ready to go. Trust me—scrambling to find a pot after you’ve taken the cutting is like trying to find your gloves in a thunderstorm. Let’s avoid that.
Here’s your propagation prep checklist:
-
Sharp, sterilized scissors or shears (wipe them with hydrogen peroxide to prevent spreading bacteria)
-
Small nursery pots (about 4”–6” wide, with drainage holes)
-
Well-draining growing medium – cactus mix, or a blend of coconut coir + pumice + bark works beautifully
-
Rooting hormone (optional but helpful) – promotes quicker rooting and less risk of rot
-
A plate or shallow tray – for the healing process
-
Spray bottle – for misting during rooting
-
Patience and curiosity – the two most underrated gardening tools!
Pro Tip: Reuse old nursery pots! Just wash them well and sterilize with hydrogen peroxide before replanting to give your new queen a fresh, clean start.
Select and Snip a Healthy Cutting
Now comes the fun part—choosing your cutting! Think of this as picking a star performer for a solo act (who will eventually start her own show-stopping flower line).
If you’re taking a cutting from your own queen of the night plant—or if a fellow plant enthusiast has graciously offered you a piece of theirs—here’s how to make sure you select a strong, root-worthy stem.
1. What to Look For:
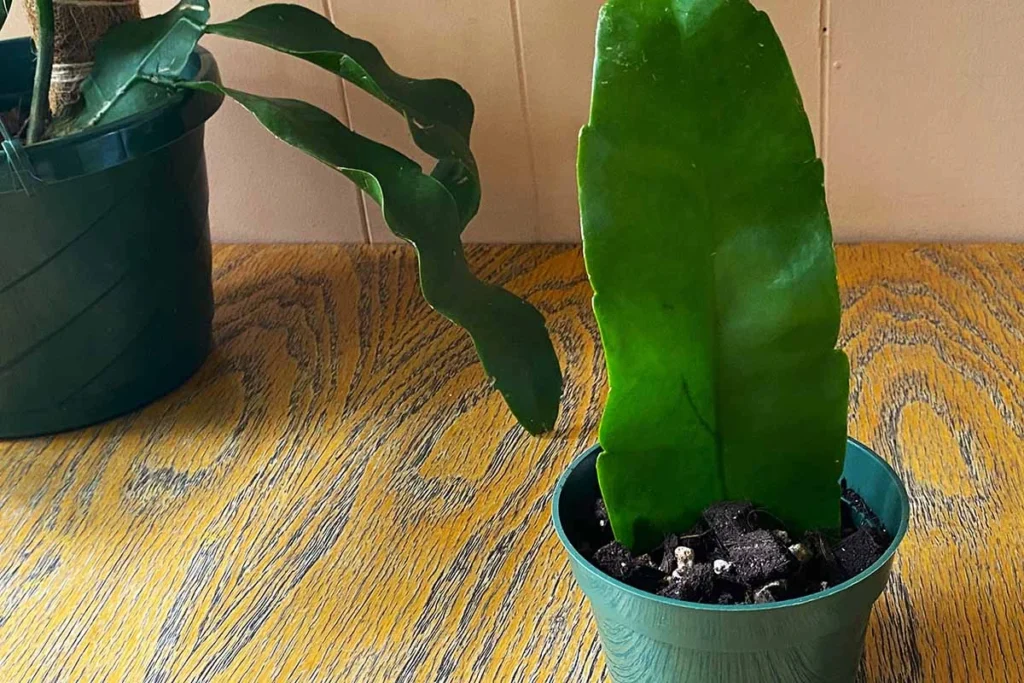
Stems from last season’s growth
You want to select a segment that’s firm, slightly woody, and dark green—not too young, not too old. These stems are mature enough to root successfully but still vigorous enough to keep growing. Think of them as the “Goldilocks zone” of cactus stems.
Viable areoles
Areoles are those tiny, round-ish bumps running along the sides of the stem. They might look like little dimples or dots. This is where the magic happens—new roots, new stems, and even future blooms will emerge from here. Choose a stem with healthy-looking areoles that are still plump and pale, not sunken or discolored.
Overall health
Give the stem a gentle once-over. It should feel firm and springy to the touch, not mushy, dry, or brittle. Avoid any that show soft spots, black marks, mold, or insect damage. A healthy stem is your best bet for a thriving plant.
2. What to Avoid:
This year’s new growth
It might be tempting to go for the freshest, greenest stem—but resist! New growth on epiphyllums tends to be soft, thin, and almost translucent, which makes it prone to rotting. It hasn’t toughened up enough for propagation.
Very old stems
On the flip side, don’t go for ancient growth either. Older stems may look woody, faded, or scarred, and often lack viable areoles. They can still root, but their success rate is lower, and they might not produce vigorous new growth.
When in doubt, go for stems that look about one year old: strong, green, and slightly leathery.
3. How to Take a Cutting (Without Drama)
Once you’ve found the perfect candidate, it’s time to make the cut—clean and precise.
-
Sterilize your cutting tool first. Use sharp scissors or pruning shears, and wipe the blades with hydrogen peroxide or rubbing alcohol. This helps prevent infections, especially important when working with succulents and cacti.
-
Measure and cut a 6- to 9-inch stem section. This length provides enough surface area below the soil for rooting and enough above the surface for photosynthesis and growth.
-
Make a clean cut perpendicular to the stem if taking it from the plant, and then trim the top tip of the cutting diagonally, just about 1/2 inch. This encourages new branches to sprout from the base rather than only from the top.
-
If you’re taking multiple cuttings (highly recommended!), lay them side by side and admire your future cactus dynasty. Why grow just one queen when you can raise a whole palace full of them?
Let It Callus: The Art of Doing… Nothing (For Now)
Here’s where your green thumb meets your patience muscle—and yes, this part is just as important as snipping the perfect cuttings.
It might seem counterintuitive, but once you’ve taken your beautiful queen of the night cutting, you’re not going to plant it right away. I know, it’s tempting. You’ve got the pot, the soil, the enthusiasm—but pause that excitement for just a few days.
Why Callusing Matters:
The cut end of your stem is like an open wound. If you stick it into moist soil too soon, it’s like dipping a paper cut in muddy water. Not cute. That tender tissue can soak up moisture and rot before it even gets the chance to root.
Instead, we give the cutting time to form a protective callus—a dry, firm layer over the wound that keeps it safe from rot and infection once it’s planted.
How to Do It:
-
Lay your cuttings flat on a clean plate, tray, or even a folded paper towel.
-
Store them somewhere cool, dry, and dark—a closet, pantry, or shady shelf works well.
-
Leave them alone for 7–10 days (yes, really!). Check that the base is no longer moist or sticky but feels dry and slightly firm, like a tiny scab.
Think of it as your cactus growing armor. No need for gauze or ointment—just good old-fashioned time.
Optional Bonus Boost:
If you’re using a rooting hormone (like Olivia’s Cloning Gel), this is the moment to apply it—before callusing begins. Dab a small amount on the cut end and the lower part of the stem, especially where the areoles are. This can speed up rooting and increase your success rate.
4. Watch Roots Happen
Now comes the moment you’ve been waiting for—root magic! After about two to three weeks of patiently caring for your potted cutting, it’s time to check for signs of success. Gently (and I mean gently!) give the cutting a little tug. If it resists even a bit—congratulations! That means roots are forming beneath the soil surface, anchoring your queen into her new throne.
Once rooting has begun, you can start watering lightly. Emphasis on lightly! A small splash of water when the top inch of soil feels dry is all she needs for now. Avoid soaking the pot or letting water pool at the bottom—cactus roots like to breathe, not swim.
Keep your young queen in bright, indirect light and maintain a cozy temperature—ideally above 65°F (18°C). She doesn’t need intense sun or heat, just a calm, warm space to settle into her new roots.
As she establishes herself, you’ll start to notice some happy little changes. You might see tiny new shoots emerging from the top of the cutting, or the stem itself may look plumper and more hydrated. And if you spot roots poking out from the bottom of the pot, that’s your sign that she’s outgrowing her nursery setup—time to consider a bigger container soon.
And here’s a fun tip: consider keeping a propagation journal. Track the date you took the cutting, when it started rooting, and note any new growth. It’s not just useful—it’s motivating to look back and see how far your plant has come (plus, it’s deeply satisfying for those of us who love a good garden nerd moment).
Your queen is on her way. Keep cheering her on!
Early Care Tips for Your New Baby Cactus
You’ve got roots? Amazing work, gardener! Your cutting has officially graduated from hopeful snippet to young, living cactus—and now it’s time to set her up for long-term success.
Here are some easy, stress-free tips to keep your Queen of the Night healthy and happy in the early weeks of life:
1. Water Wisely
Keep the soil slightly moist, but never soggy. Overwatering is one of the fastest ways to stress or rot a new plant. Let the top inch of soil dry out between waterings, and always use a pot with good drainage. Think moist like a wrung-out sponge, not a soaked brownie.
2. Hold Off on Fertilizer (for Now)
As excited as you might be to give your baby queen a boost, resist the urge to fertilize right away. For the first 4 to 6 weeks after rooting, your plant is still adjusting and establishing its new root system. Extra nutrients too early can overwhelm it. Let her settle in gently.
3. Start Feeding After a Month
Once your plant has been growing steadily for about a month and you see signs of new shoots or thickening stems, you can begin feeding with a balanced cactus fertilizer (like a 10-10-10 or 5-10-5 mix). Apply once a month during the growing season (spring through early fall), and always follow the package instructions—less is more!
4. Let There Be Light (But Not Too Much)
Your queen will do best in bright, indirect light, like a few feet away from a sunny, east- or south-facing window. Avoid placing her in harsh, direct afternoon sun, especially in hot climates, as this can scorch her tender young leaves. Filtered sunlight or sheer curtains work beautifully.
Frequently Asked Questions
Q: How long does it take for Queen of the Night cuttings to root?
Typically, you’ll see signs of rooting in 2 to 3 weeks, but this can vary depending on temperature, humidity, and stem health. Be patient—some queens take their time.
Q: Can I root Queen of the Night in water instead of soil?
You can, and some gardeners do! However, rooting in soil or a well-draining medium is generally preferred. It encourages stronger, more adaptable roots that are better suited for long-term growth in pots.
Q: What if my cutting starts to rot before rooting?
If the base becomes soft, mushy, or blackened, it’s likely rot. Toss it (sadly), sterilize your tools, and try again with a fresh cutting. Always let the cutting callus for at least 7–10 days before planting, and don’t overwater early on.
Q: Should I fertilize my cutting while it’s rooting?
Nope! Cuttings don’t need fertilizer until after they’ve developed a root system and new growth appears. Fertilizing too soon can actually stress or damage the unrooted cutting.
Q: Can I propagate Queen of the Night during winter?
It’s possible, but not ideal. These plants root best in warm, bright conditions. If you’re propagating in winter, use a grow light and ensure temperatures stay above 65°F (18°C) to improve your chances.
Q: How often should I mist my cutting?
Once it’s planted but before it’s rooted, mist the cutting itself daily, especially in dry climates. But avoid soaking the soil—it should stay dry until roots begin to form.
Q: When will my new plant bloom?
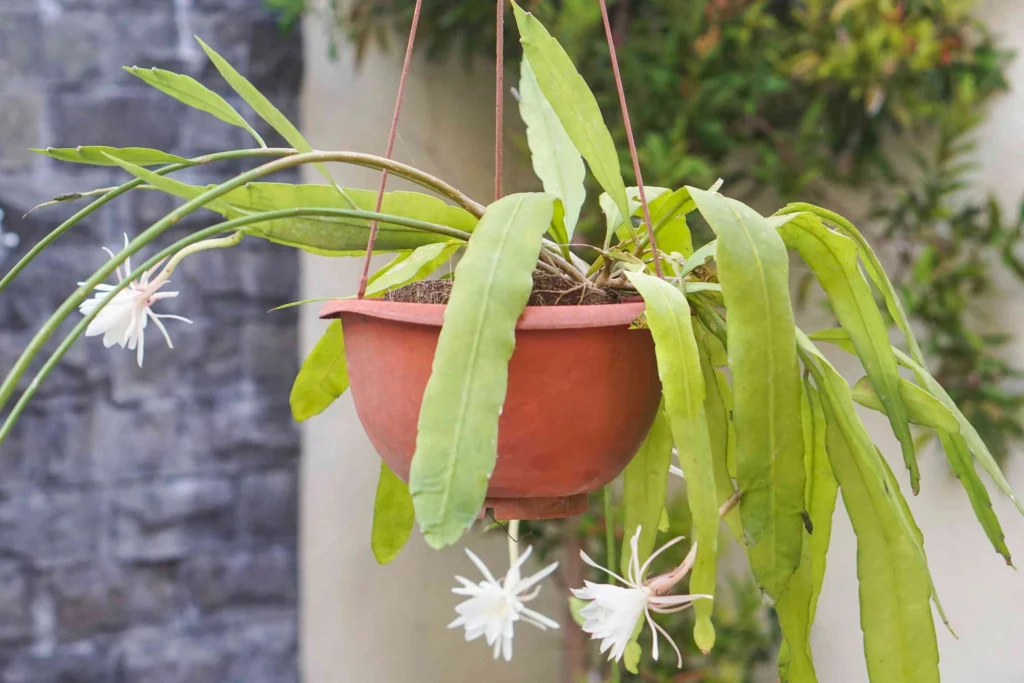
Here’s the royal truth: it may take 2–3 years for a propagated cutting to bloom. But once it does—oh, the reward is worth it! Giant, fragrant blooms that unfurl like magic in the middle of the night? Pure enchantment.
Final Thoughts
Propagating Queen of the Night cactus from cuttings isn’t just a cool gardening project—it’s a rewarding way to grow a rare, beautiful plant without spending money on new ones.
You can gift rooted cuttings to friends, swap with other plant lovers, or build your own blooming jungle.
If you’re curious to learn more about indoor plant care, or how to make your tropical cactus bloom, check out my other posts on:
How to Grow Petunias Indoors: Easy Tips for Colorful Blooms All Year
Summer Houseplant Care: 7 Smart Tips for Lush Green Leaves
Now go grab those shears and start your cactus propagation journey. You’re going to love watching your Queen grow from just a tiny cutting.
5 Tips for Growing Sweet Potatoes to Get the Biggest Sweet Potato Harvest Ever
If you are a fan of sweet potatoes, then these tips for growing sweet potatoes [...]
Apr
Tamarillo Tree Guide: Flavor, Texture & How to Eat Tree Tomatoes
The humble tomato is a kitchen staple we all know and love, but it rarely [...]
Apr
5 Pro Tips to Grow Esperanza ‘Gold Star’ Indoors: A Golden Glow for Your Home
While most gardeners know this Texas Superstar – Esperanza ‘Gold Star’ as a rugged outdoor [...]
Apr
Mastering Esperanza Goldstar: Grow the Ultimate Yellow Bloom
Esperanza Goldstar is more than just a heat-tolerant shrub; for the American gardener battling the [...]
Apr
Yellow Dragon Fruit Plant Care: The Ultimate Guide for Healthy Growth
The yellow dragon fruit plant is a unique and rewarding addition to any home garden, [...]
Apr
How to Identify Bocking 14 Comfrey: 5 Simple Visual Signs
If you’re growing comfrey for mulch, compost, or animal feed, knowing exactly which variety you [...]
Mar