
Jul
Guides
Growing Egyptian Walking Onions in Containers: A Complete Guide for Beginners
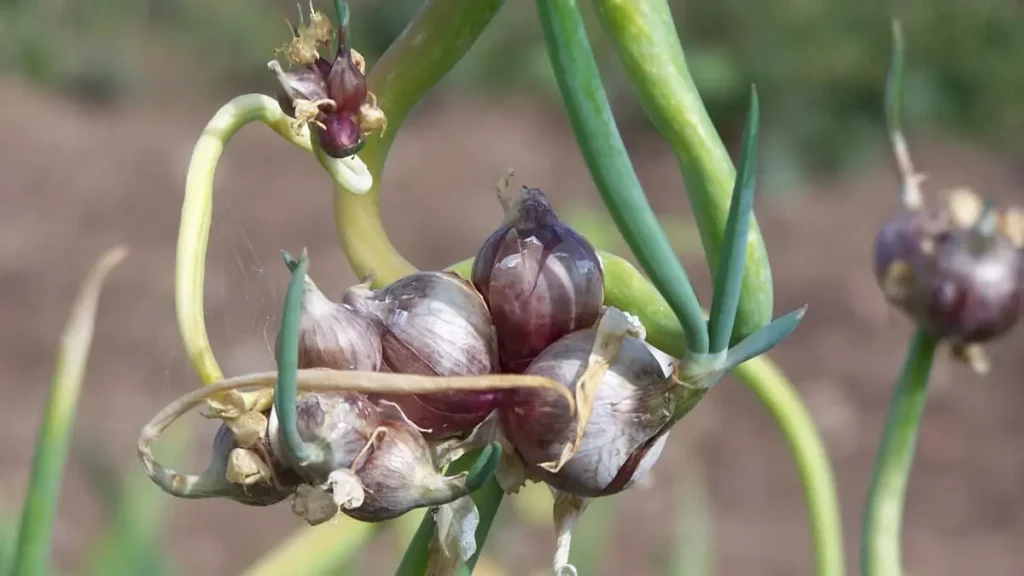
If you’re looking for a hardy, no-fuss perennial onion that keeps on giving year after year, it’s time to talk about the Egyptian Walking Onion. While they first resemble regular bunching onions, mid-summer is when the magic happens: instead of flowers, they produce a unique topset of mini-bulbs (bulbils) that you can either harvest for dinner or replant to effortlessly expand your onion patch.
The best part? While they love to roam free, you don’t need a massive, dedicated garden bed to enjoy them. These resilient onions are incredibly adaptable and are just as easy to grow in containers as they are in the ground—making them the ultimate convenient, space-saving choice for patio and balcony gardeners.
No heavy digging required, just a steady supply of continuous flavor right outside your door. Read on to learn exactly how to get your own container onion colony started!
Why Grow Egyptian Walking Onions in Pots?
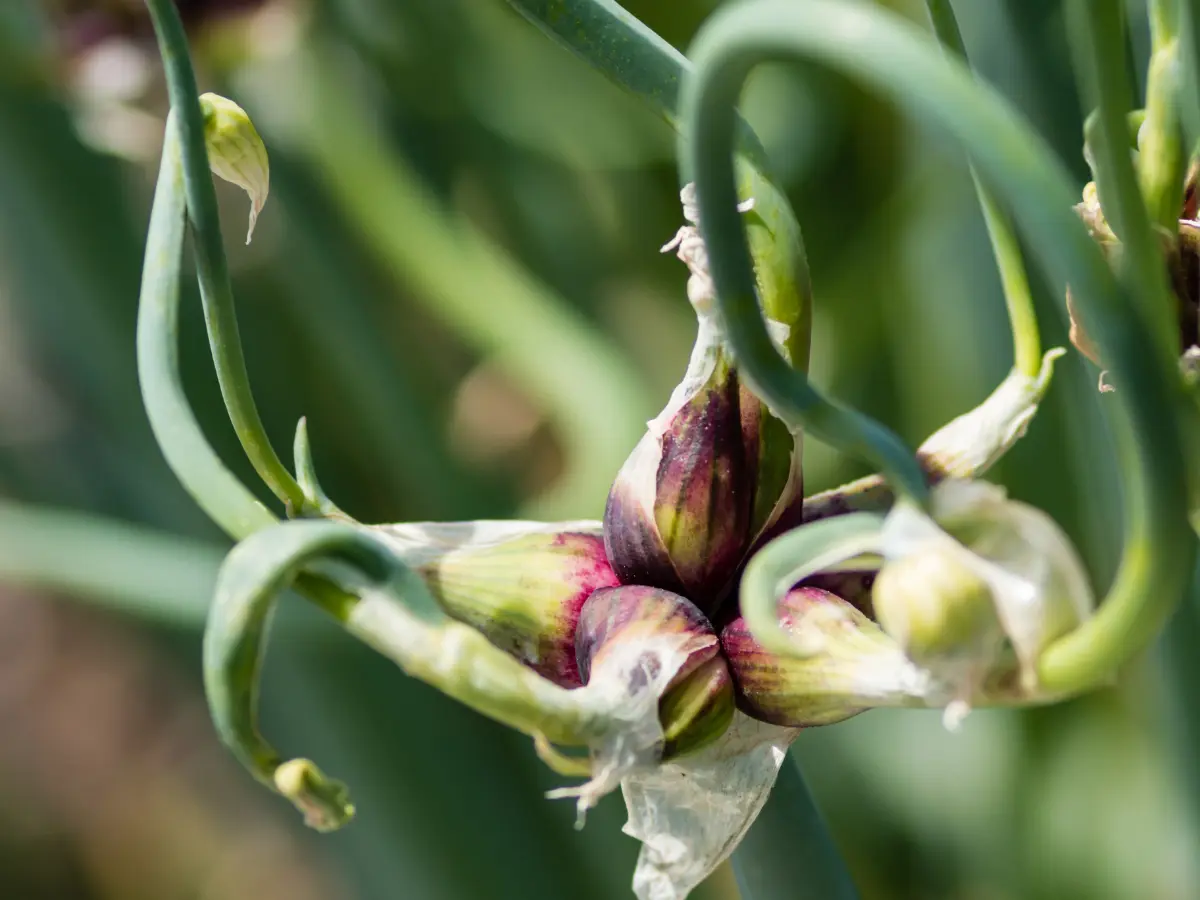
Growing Egyptian Walking Onions (Allium × proliferum) in containers is a fantastic solution for small-space gardeners who want maximum return for minimum effort.
When you think of an onion that “walks,” you might picture a plant dragging itself across a garden bed. What actually happens is beautiful chaos: instead of flowers, the tops of these stalks produce clusters of mini-onions (called topsets). As they get heavy, the stalk bends down, the topsets touch the ground, take root, and boom, the onion has “walked” a few feet away!
While they love to roam free in open soil, they actually adapt beautifully to container life. So, why should you consider growing them in a pot?
-
Contained Chaos: In a garden bed, these onions will literally walk all over your other vegetables. Pots act as a friendly barrier, keeping your walking friends exactly where you want them.
-
Perennial Permanence: Walking onions are incredibly hardy perennials. Putting them in a container means if you move to a new apartment or house, your beloved onion colony comes with you!
-
Perfect Drainage Control: Like most onions, they absolutely despise sitting in soggy mud. Potted environments allow you to curate the perfect, well-draining home to avoid root rot.
But how do you get started? Let’s dive into the steps!
Preparing for Growing Egyptian Walking Onions in Pots
Choosing the Right Container
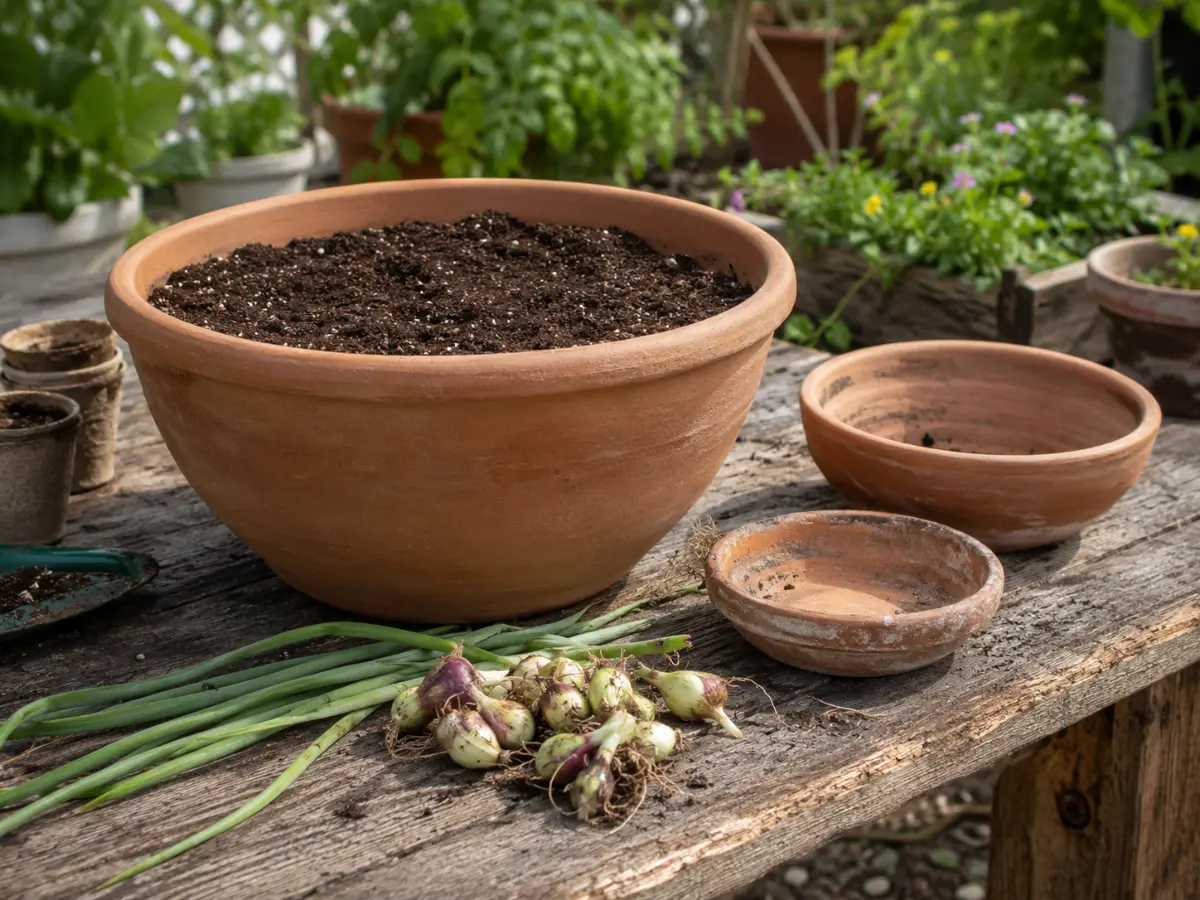
When it comes to container gardening for this walking wonder, choosing the right pot will set you up for years of continuous harvests.
-
Size Matters: Go wide rather than deep! Start with a pot that is at least 12 inches in diameter and 10–12 inches deep (a wide 5-gallon container works brilliantly). This gives the parent bulb plenty of room and leaves space for a few topsets to bend over and replant themselves in the same pot.
-
Drainage is Key: If there is one thing you take away from this guide, let it be this: Egyptian Walking Onions will rot and die if trapped in stagnant water. Ensure your container has large, clear drainage holes at the bottom.
-
Material Choices: Heavy terracotta, ceramic, or sturdy fabric grow bags are absolute champions here. As the onion stalks grow top-heavy with bulbils, lightweight plastic pots can easily tip over in a strong wind.
Best Soil Mix for Pots
Your walking onions prefer a light, rich, and loose soil that allows their roots to breathe and expand effortlessly.
-
Soil Type: Never use heavy backyard clay or dense topsoil—it will suffocate the bulbs. Instead, choose a high-quality potting mix and blend in equal parts of perlite or coarse sand to boost drainage. Toss in a generous handful of worm castings or well-rotted compost to give it the rich nutrients it craves.
-
pH Level: These onions are pretty easy-going but prefer a slightly neutral to slightly acidic soil, ideally with a pH between 6.2 and 6.8.
How to Plant Egyptian Walking Onions
Now that you’ve got your pot and soil ready, it’s time to plant! You can start these either from a mature ground bulb or, more commonly, from the little topset bulbils.
When to Start Your Onions
Egyptian Walking Onions are absolute winter warriors. The absolute best time to plant them is in late summer or early autumn. This gives them time to establish roots before the winter freeze, rewarding you with explosive green growth early next spring. However, you can also plant them in early spring as soon as the soil can be worked.
Planting Egyptian Walking Onions
-
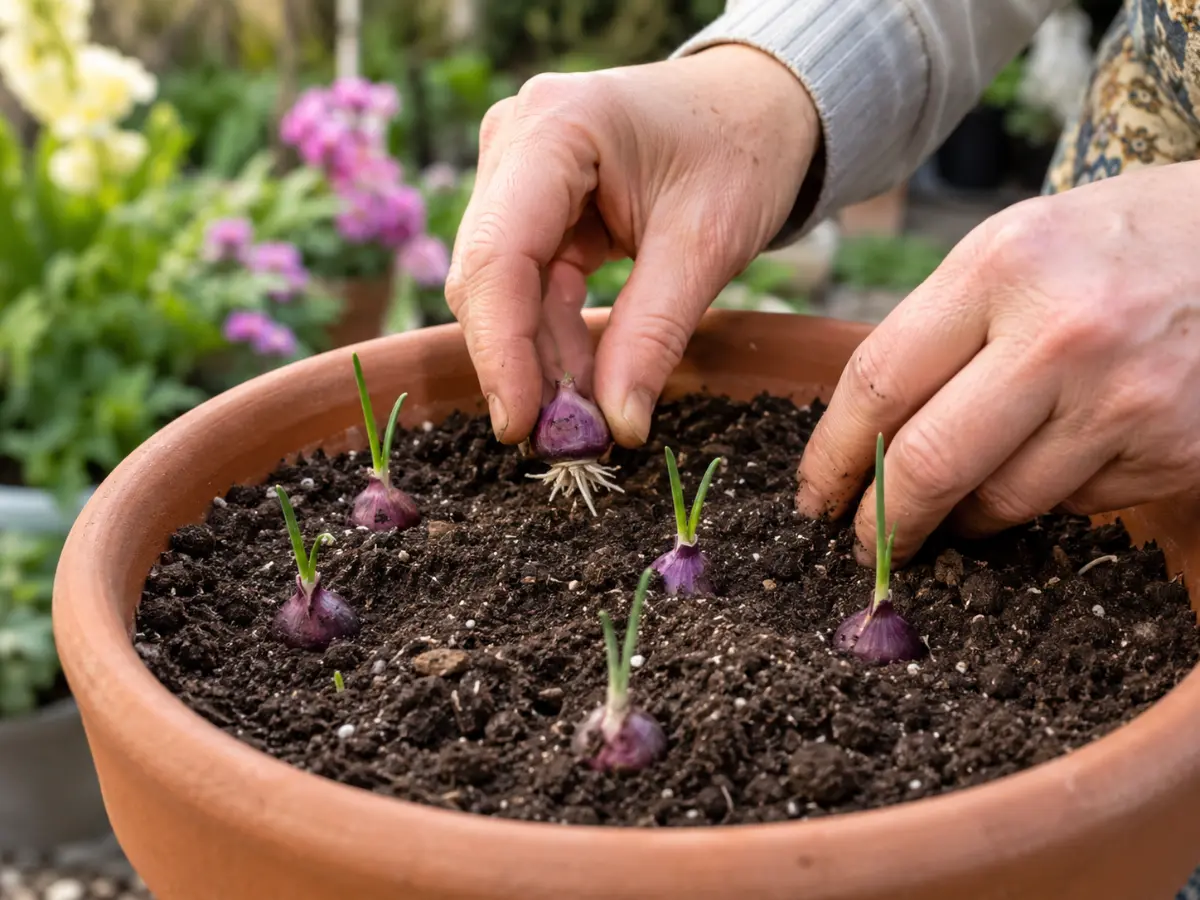
Fill your container: Add your well-draining soil mix to the pot, leaving about 2 inches of space from the rim.
-
Place the bulbs: If planting topset bulbils, push them into the soil about 1 to 2 inches deep, pointing the pointy nose upward and the flat root base downward. Space them about 4–6 inches apart.
-
Cover and press: Lightly cover the bulbs with soil and press down gently to eliminate any hidden air pockets.
-
Water well: Give your new pot a thorough soak until water streams freely out of the drainage holes. Place the pot in a sunny location and watch the magic happen!
Caring for Egyptian Walking Onions in Pots
Treat your walking onion like a tough, resilient, sun-loving friend. Give it plenty of sunshine, don’t drown it, and it will basically take care of itself!
Sunlight and Temperature
Egyptian Walking Onions are absolute sun-worshipers. To grow strong, thick stalks that can support heavy topsets, they need at least 6 to 8 hours of direct sunlight daily.
Temperature-wise, these plants are practically bulletproof. They laugh in the face of frost! They can easily survive freezing winter temperatures outdoors in their pots, dropping into a dormant state before waking up happier than ever in the spring.
Watering
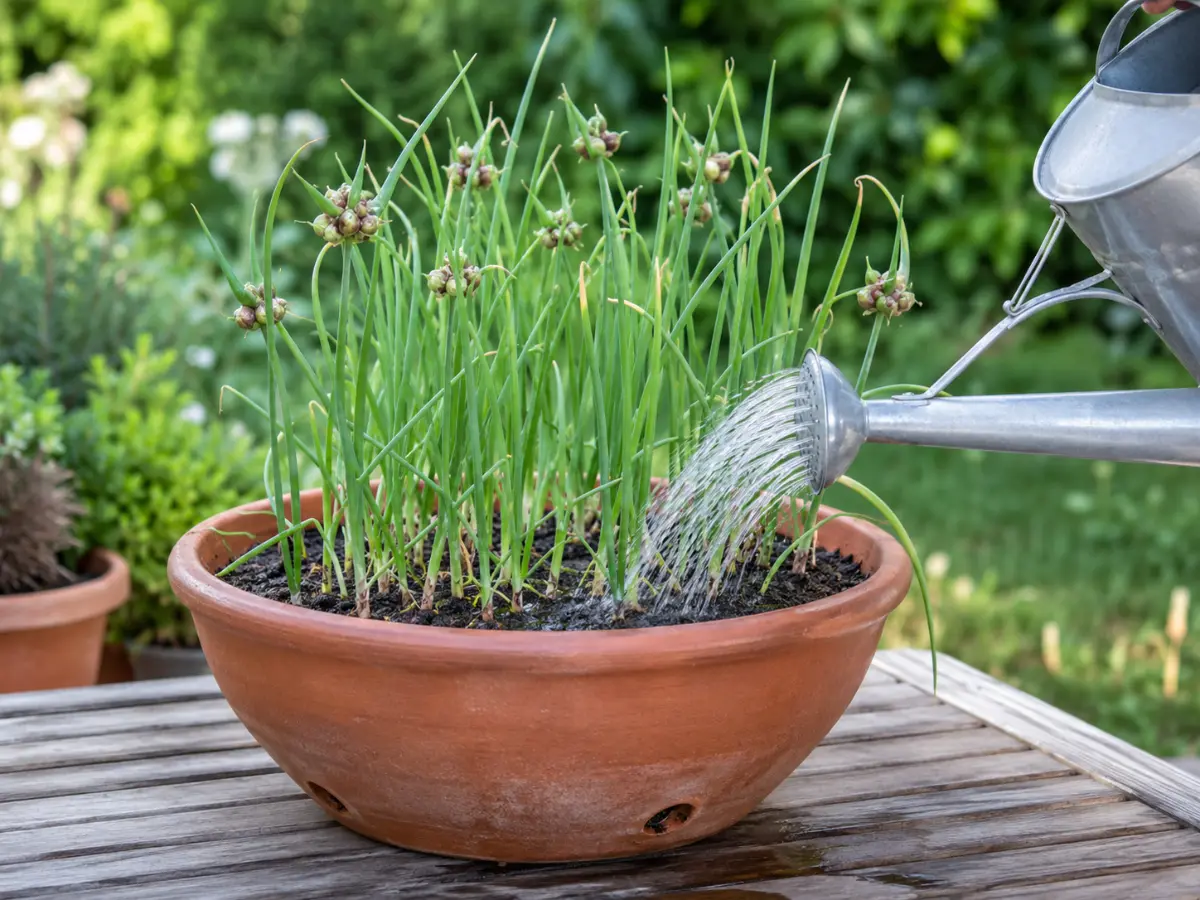
Watering is where most container gardeners get a little too enthusiastic. The golden rule here is to let the top two inches of soil dry out completely between waterings.
To test if your onions need a drink, stick your finger into the soil. If it feels dry and powdery, it’s time to water thoroughly until it pours out the bottom. If it feels damp, step away from the watering can!
Feeding
Because potted plants lose nutrients every time you water them, giving your onions a strategic nutritional boost keeps them productive for years:
-
Spring Boost: Feed once every three weeks with a balanced organic liquid fertilizer (like fish emulsion or kelp meal) to encourage lush, green stalk growth.
-
Stop in Winter: Stop fertilizing completely by mid-autumn to let the plant naturally transition into its winter rest.
Managing the “Walking” Action in Containers
Since your onion is confined to a pot, it can’t walk across the yard—but it will try! By mid-summer, your stalks will look wildly top-heavy with clusters of mini-bulbs.
Pro-Tip for Container Walking: When the heavy stalks begin to arch down, you have two choices. You can let them bend naturally into an adjacent pot placed right next to the parent plant to expand your colony. Or, you can simply snip the topsets off and manually plant them back into the center of the pot (or harvest them for dinner!).
If the stalks are tipping your pot over or getting in the way, feel free to push a bamboo stake into the center of the pot and loosely tie the main stalks up for a cleaner, vertical look.
You may like:
- Best Types of Garlic You Must Grow Once in Your Garden
- Avoid These 10 Garlic Planting Mistakes for Bigger, Healthier Bulbs
- When and How to Plant Garlic in Fall for Best Results
Harvesting and Enjoying Your Walking Onions
The best part about this plant? It’s a literal 3-in-1 buffet. Every single part of the Egyptian Walking Onion is edible!
When and How to Harvest
-
The Green Stalks: You can snip the hollow green leaves at any time of the year to use exactly like chives or scallions. Just leave at least a few inches at the base so the plant can keep growing.
-
The Topset Bulbils: In late summer, when the little air-bulbs turn papery and brown, simply snap them off. They taste like intense, concentrated shallots!
-
The Underground Bulb: While you can dig up the main underground bulb to eat like a pungent leek, I highly recommend leaving it alone in the pot. It acts as your perennial engine, producing fresh onions year after year!
Flavor Profiles: Eating the Whole Plant
|
Plant Part |
Best Harvest Time |
Flavor Profile |
Best Used For |
|
Green Stalks |
Spring & Summer |
Mild, sweet onion |
Salads, baked potatoes, garnishes |
|
Topset Bulbils |
Late Summer |
Sharp, spicy, shallot-like |
Pickling, stir-fries, roasting whole |
|
Underground Bulb |
Autumn |
Very strong, pungent onion |
Soups, stews, slow-cooked dishes |
Conclusion
Growing Egyptian Walking Onions in pots is an incredibly rewarding, thrilling journey that brings a touch of whimsical permaculture straight to your balcony or porch. By giving it maximum sunlight, keeping the soil on the drier side, and letting it do its crazy architectural dance, you’ll have a striking, flavorful companion that feeds you for years.
So, are you ready to add this walking wonder to your container garden? Happy gardening, enjoy the onion bounties, and may your walking onions take their first steps beautifully!
Frequently Asked Questions (FAQs)
Do I need to bring my potted walking onions indoors for the winter?
No! Unlike tropical peppers, Egyptian Walking Onions are incredibly cold-hardy perennials. They can comfortably stay outside in their containers even during heavy snow and freezing temperatures. They will go dormant and bounce right back in spring.
Why are the green stalks on my onion folding over?
If it’s mid-to-late summer, this is totally normal! The stalks are bending under the weight of the developing topsets—this is how they “walk.” However, if they are falling over in early spring without any bulbils on top, you are likely overwatering them or they aren’t getting enough sunlight.
How many years will a potted walking onion live?
If cared for properly, a single parent bulb can live and produce topsets for several years! Eventually, the main bulb will split into a cluster underground. When this happens, simply divide them into separate pots to keep your onion empire growing indefinitely.
Can I grow these indoors on a sunny windowsill?
You can try, but they won’t perform their best. Walking onions crave intense, direct sunlight and changing outdoor seasons to trigger their topset production. If you must grow them indoors, you will definitely need a high-power LED grow light running for 14 hours a day.
You may like:

How to Grow Arbequina Olive Trees: The Ultimate Guide to Your Own Olive Grove
Arbequina Olive Tree (Olea europaea ‘Arbequina’) – the ultimate Mediterranean plant that brings a touch [...]
Oct
Growing Garlic in Containers This Fall: A Complete Guide for Beginners
If you’ve ever wanted to pop fresh, aromatic garlic cloves straight from your own patio [...]
Sep
Growing Camellia Sinensis (Tea Plants) in Containers: A Complete Guide for Beginners
If you’ve ever wanted to sip a steaming, homegrown cup of fresh green, black, or [...]
Aug
6 Best Shrubs to Plant in August You Must Try
Have you ever walked through a nursery late in the summer, admired the vibrant shrubs [...]
Aug
Growing Everbearing Strawberries in Containers: A Complete Guide for Beginners
Want to grow sweet, fresh strawberries but do not have a large garden? Everbearing strawberries [...]
Aug
Growing Egyptian Walking Onions in Containers: A Complete Guide for Beginners
If you’re looking for a hardy, no-fuss perennial onion that keeps on giving year after [...]
Jul