
Aug
Guides
Growing Camellia Sinensis (Tea Plants) in Containers: A Complete Guide for Beginners
If you’ve ever wanted to sip a steaming, homegrown cup of fresh green, black, or white tea right from your own patio, you’ve probably dreamed of cultivating your very own tea bush.
If you’re looking for a hardy, no-fuss perennial evergreen that keeps on giving season after season, it’s time to talk about Camellia sinensis, the famed plant behind virtually all true teas! While traditional tea gardens span vast hillside estates, these lush, glossy shrubs produce continuous flushes of tender young leaves that you can harvest and process right in your own kitchen.
The best part? You don’t need a sprawling estate or a massive, dedicated garden bed to enjoy them. These elegant bushes are incredibly adaptable and are just as easy to grow in containers as they are in the ground, making them the ultimate convenient, space-saving choice for balcony, porch, and patio gardeners.
No heavy digging or massive garden beds required, just a steady supply of fresh, homegrown tea leaves right outside your back door. Read on to learn exactly how to get your own container tea bush started!
Why Grow Camellia Sinensis in Containers?
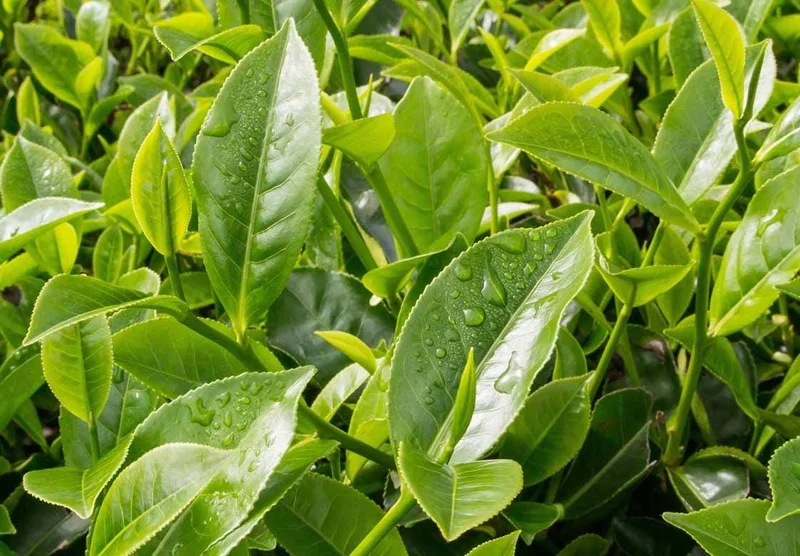
Growing Camellia sinensis in containers is a fantastic solution for urban growers, colder-climate gardeners, or anyone who wants an evergreen aesthetic paired with functional harvests.
When you think of a tea plant, you might picture endless rows rolling over tropical hillsides. While they can grow into sizeable shrubs in open ground, Camellia sinensis actually adapts beautifully to container life. So, why should you consider growing it in a pot?
-
Weather Mobility: Tea plants are native to subtropical regions and despise deep freezes. Growing them in pots means you can easily cheat the seasons, rolling them into a bright sunroom or garage when winter chill threatens.
-
Total Soil Control: Tea plants are notorious lovers of acidic soil. Trying to change the pH of an entire garden bed is a hassle, but in a container, creating the ultimate acid-rich home is a breeze.
-
Compact Elegance: A container keeps the root system neatly managed, creating a dense, lush, glossy evergreen shrub that looks like an expensive ornamental plant on your balcony while doubling as your morning tea source.
But how do you get started? Let’s dive into the steps!
Preparing for Growing Camellia Sinensis in Pots
Choosing the Right Container
When it comes to container gardening for this acid-loving shrub, picking the right pot will set you up for years of continuous tea harvests.
-
Size Matters: Tea plants develop strong, fibrous root systems. Start your young plant in a container that is at least 12 inches in diameter and depth (a 3 to 5-gallon pot is a great starting point). As the bush matures over the years, you can size up to a 10-gallon home.
-
Drainage is Key: If there is one thing you take away from this guide, let it be this: Camellia sinensis absolutely despises sitting in stagnant, waterlogged mud. Ensure your container has plenty of large drainage holes at the bottom.
-
Material Choices: Heavy terracotta, glazed ceramic, or sturdy fabric grow bags are absolute champions. Fabric pots provide excellent root aeration, while heavy glazed pots prevent top-heavy bushes from tipping over on windy balconies.
Best Soil Mix for Pots
Your tea bush prefers a light, loose, and well-draining soil mix that mimics an organic mountain slopeside.
-
Soil Type: Never use heavy garden soil, it will compact in a pot and suffocate the roots. Instead, use a specialized acidic potting mix (like an azalea or camellia mix). You can easily make your own by blending standard potting soil with peat moss or fine pine bark, adding a handful of perlite to boost drainage.
-
pH Level: This is the most crucial detail: Camellia sinensis demands acidic soil with a pH between 4.5 and 5.5. Standard alkaline soils will lock out nutrients and turn your leaves yellow fast!
How to Plant Camellia Sinensis
Now that you’ve got your pot and soil ready, it’s time to get planting! Since starting tea from seed can take months of cold stratification, starting with a young nursery plant is the best route for beginners.
Choosing Your Starter Plant
Look for healthy starter plants of Camellia sinensis var. sinensis (which is extra cold-hardy and compact) or Camellia sinensis var. assamica (which loves warmth and yields bold tea).
Planting Process
-
Fill your container: Add your well-draining, acidic soil mix to the pot, leaving about 2 to 3 inches of space from the rim.
-
Position the plant: Gently loosen the starter plant from its nursery pot. Keep the root ball intact, as camellias have sensitive surface roots. Place it right in the center.
-
Level the crown: Ensure the top of the root ball sits flush with the soil level. Burying the stem too deep can cause rot.
-
Fill and press: Pack your acidic soil blend around the roots, level it out, and press lightly down to eliminate air pockets.
-
Water well: Give your new plant a thorough soak with rainwater or filtered water until it streams freely out of the drainage holes. Place it in a sheltered, sun-dappled spot for a few days to adjust!
Caring for Camellia Sinensis in Containers
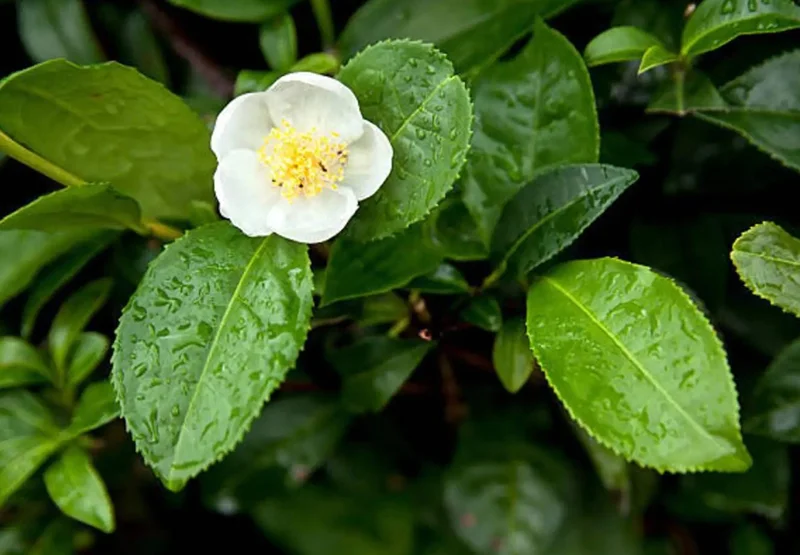
Treat your tea plant like a sun-loving, moisture-conscious subtropical beauty. Give it dappled sunshine, acidic drinks, and a light pruning schedule, and it will reward you with abundant flushes of tender buds!
Sunlight and Temperature
Camellia sinensis prefers dappled sun to partial shade, especially in hotter afternoon climates. Aim for 4 to 6 hours of gentle morning sunlight daily. Harsh, scorching afternoon sun can burn the tender leaf tips!
Temperature-wise, tea bushes are happiest between 55°F and 80°F (13°C to 27°C). While mature plants can tolerate light freezes down to USDA Zone 7, potted roots are more vulnerable. Bring your container indoors to a cool, bright spot if temperatures dip below 25°F (-4°C).
Watering
Watering is where most container tea growers hit a bump, but keeping it balanced is simple once you know the secret. The golden rule is to keep the soil consistently moist, but never soggy.
To test if your plant needs a drink, stick your finger two inches deep into the soil. If it feels dry, it’s time to water thoroughly.
Pro-Tip for Acid Balance: Tap water high in minerals (hard water) can raise soil pH over time. Whenever possible, water your container tea bush with natural rainwater or filtered water to keep the acidic environment happy!
Feeding
Because potted plants lose nutrients every time you water them, giving your tea plant a strategic nutritional boost keeps its foliage rich and glossy:
-
Spring & Summer: Feed once every 3 to 4 weeks with an acid-loving plant fertilizer (such as an azalea, rhododendron, or camellia food).
-
Autumn & Winter: Stop fertilizing completely by early autumn to let the bush rest through the colder months.
Pruning and Harvesting Leaves
If left untouched, a tea bush can grow up to 10 feet tall! In a container, keeping it pruned at a manageable waist-height (2 to 3 feet) encourages a wide, flat “plucking table” packed with dense new growth.
Pinch or trim the top central stems during early spring to force side-branching. The more branches your shrub forms, the more tender tea shoots you’ll get to pluck!
Potting and Repotting Camellia Sinensis
Because your tea bush is a long-lived perennial shrub, giving it fresh elbow room as it grows is key to keeping those tender leaves coming!
-
When to Repot: Young tea plants grow at a steady pace and will typically outgrow their pots every 2 to 3 years. Look out for warning signs that your plant is “root-bound”: water running straight through the pot without soaking in, roots poking out of the bottom drainage holes, or top growth stalling out during warm spring months.
-
The Golden Rule for Sizing Up: Never jump straight from a small starter container to a massive 10-gallon pot! Moving into a container that is too large holds excess damp soil around delicate roots, which can easily invite root rot. Always step up just 2 to 3 inches wider in diameter than your current pot.
-
Best Season for Repotting: The absolute best time to repot your tea bush is in early spring, right as the plant wakes up from its winter rest but before it pumps out its first explosive flush of tender green leaves.
-
How to Repot Safely:
-
Water your tea plant thoroughly the day before repotting to keep the root ball cohesive.
-
Gently slide the shrub out of its old pot, supporting the main stem near the base.
-
Gently tease apart any tightly wound roots at the bottom with your fingers.
-
Set the bush into its new container filled with fresh, pre-moistened acidic potting mix, ensuring the plant sits at the exact same soil depth as before.
-
Firm the soil, give it a deep soak with rainwater, and keep the pot in a warm, semi-shaded spot for a week to recover from transplant shock!
-
Pro-Tip for Mature Bushes: Once your Camellia sinensis reaches its forever home (usually a sturdy 7 to 10-gallon pot), you don’t need to keep upgrading pot sizes! Instead, perform “top-dressing” every spring: scrape away the top 2 to 3 inches of old soil without disturbing the roots, and replace it with fresh, rich, acidic compost and pine bark mix.
Common Problems and How to Solve Them
Yellowing Leaves (Chlorosis)
If your tea plant’s leaves start turning pale yellow while the veins stay green, your soil pH is likely too high (alkaline). Test your soil pH immediately! You can quickly correct this by applying a liquid soil acidifier or a splash of diluted chelated iron.
Pest Control
Keep an eye out for scale insects, spider mites, or aphids clinging to the undersides of glossy leaves. Wipe them away with a damp cloth or spray the plant with a mild organic neem oil solution. Since you’ll be drinking the leaves, avoid harsh chemical pesticides!
Leaf Drop and Root Stress
Did your tea bush suddenly drop a shower of green leaves? This dramatic reaction usually signals a sudden environmental shock, either drastic overwatering, severe underwatering, or moving the pot from shade to scorching direct sun too quickly. Keep moisture levels stable and adjust locations gradually!
Harvesting and Processing Your Own Tea
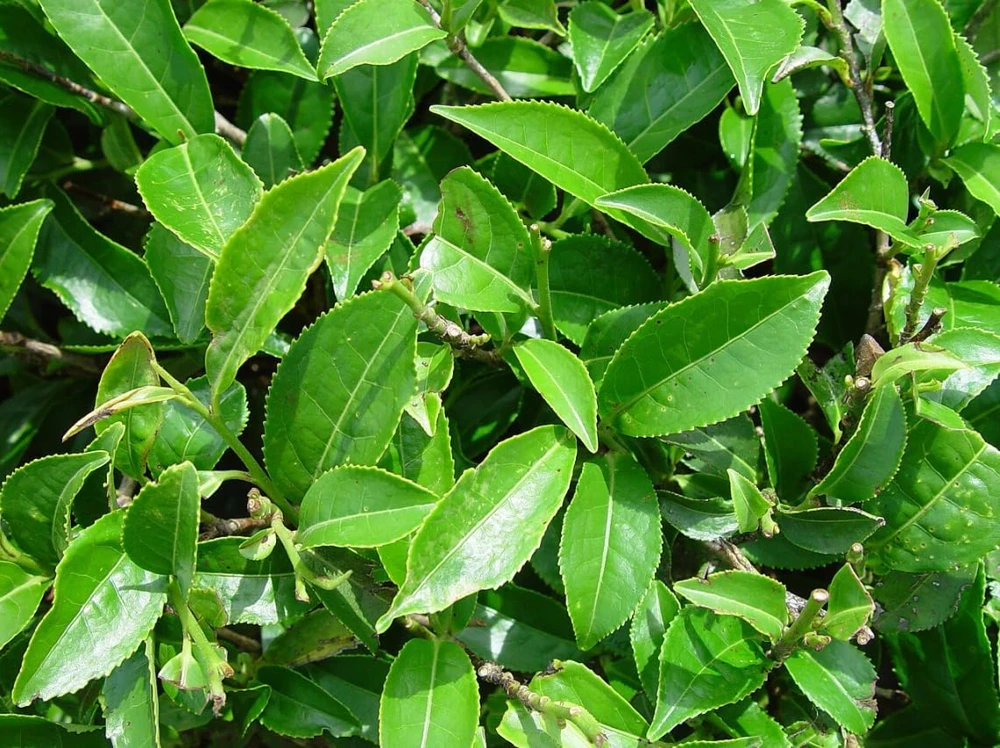
The ultimate reward of growing Camellia sinensis is harvesting your very own custom tea harvest!
When and How to Harvest
Wait until your container plant is established (usually in its second or third year) before harvesting heavily. Look for fresh spring shoots and use the classic rule: “Two leaves and a bud.” Gently snap off the top unfolded leaf bud along with the two youngest, light-green leaves right below it. This triggers the plant to send out even more fresh shoots!
Quick Prep: Green vs. Black Tea
Did you know green and black tea come from the exact same plant? It all comes down to how you process the leaves:
-
Green Tea: Steam or pan-fry the freshly plucked leaves for 1–2 minutes immediately after harvesting to prevent oxidation, roll them gently by hand, and dry them in a warm oven at low heat.
-
Black Tea: Let the freshly plucked leaves wither in the shade for a few hours, roll and bruise them in your hands to start oxidation, let them sit out until they turn dark brown/amber, and then bake dry!
Conclusion
Growing Camellia sinensis in containers is an wildly rewarding, unique journey that brings the ancient craft of tea making straight to your living space. By giving it acidic soil, gentle sunlight, and steady moisture, you’ll have a striking, evergreen companion that yields delicious warm brews for years to come.
So, are you ready to cultivate your very own tea patch in a pot? Happy gardening, enjoy your homegrown cups, and may your plucking table be lush and bountiful!
Frequently Asked Questions (FAQs)
How long does it take a potted Camellia sinensis to produce tea?
If you start with a 1 to 2-year-old nursery starter plant, you can begin lightly plucking young leaves during its first spring with you! However, it usually takes about 2 to 3 years for a potted bush to grow bushy enough for regular tea harvests.
Can I grow a tea plant fully indoors?
Yes, but it requires bright light! A standard windowsill won’t provide enough energy for dense leaf production. You will need a high-quality, full-spectrum grow light running for 12–14 hours daily, along with a room humidifier to mimic its native humid climate.
Does a container tea plant flower?
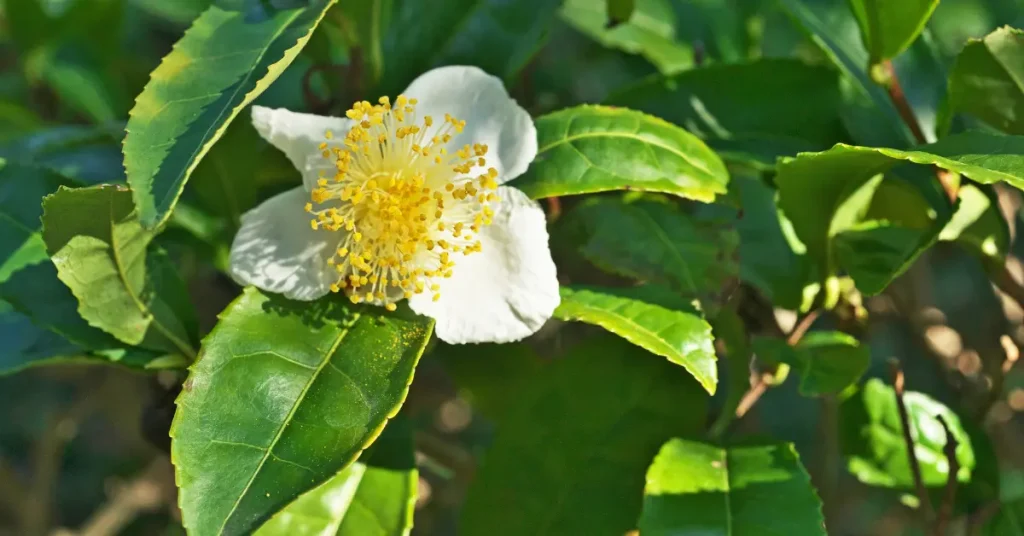
It certainly does! In autumn, Camellia sinensis produces delicate, fragrant white flowers with bright yellow centers. While lovely to look at, feel free to snip a few off so the plant directs more energy into foliage growth!
How often should I repot my container tea bush?
Young tea plants should be moved up to a slightly larger pot every 2 years as their roots expand. Once your plant reaches a mature 5 to 7-gallon pot, you can keep it there indefinitely by lightly root-pruning and refreshing the top soil every couple of years.
You may like:

How to Grow Arbequina Olive Trees: The Ultimate Guide to Your Own Olive Grove
Arbequina Olive Tree (Olea europaea ‘Arbequina’) – the ultimate Mediterranean plant that brings a touch [...]
Oct
Growing Garlic in Containers This Fall: A Complete Guide for Beginners
If you’ve ever wanted to pop fresh, aromatic garlic cloves straight from your own patio [...]
Sep
Growing Camellia Sinensis (Tea Plants) in Containers: A Complete Guide for Beginners
If you’ve ever wanted to sip a steaming, homegrown cup of fresh green, black, or [...]
Aug
6 Best Shrubs to Plant in August You Must Try
Have you ever walked through a nursery late in the summer, admired the vibrant shrubs [...]
Aug
Growing Everbearing Strawberries in Containers: A Complete Guide for Beginners
Want to grow sweet, fresh strawberries but do not have a large garden? Everbearing strawberries [...]
Aug
Growing Egyptian Walking Onions in Containers: A Complete Guide for Beginners
If you’re looking for a hardy, no-fuss perennial onion that keeps on giving year after [...]
Jul