
Sep
Guides
Growing Garlic in Containers This Fall: A Complete Guide for Beginners
If you’ve ever wanted to pop fresh, aromatic garlic cloves straight from your own patio right into a sizzling pan, you’ve probably dreamed of planting your own autumn garlic crop.
If you’re looking for a hardy, no-fuss perennial-like crop that practically takes care of itself all winter long, it’s time to talk about growing garlic this fall! While garlic looks like a humble kitchen staple, fall is the golden season to tuck these cloves into the soil, letting them build strong subterranean roots through the winter cold before exploding into fat, flavorful heads come spring and summer.
The best part? You don’t need a sprawling backyard or a massive, dedicated garden bed to enjoy a bumper crop. Garlic is incredibly adaptable and is just as easy to grow in containers as it is in the ground, making it the ultimate convenient, space-saving choice for balcony, porch, and patio gardeners.
No heavy digging or massive garden beds required, just a steady supply of homegrown garlic right outside your back door. Read on to learn exactly how to get your own container garlic patch planted this autumn!
Read more: When and How to Plant Garlic in Fall for Best Results
Why Grow Garlic in Containers This Fall?
Growing garlic in containers during the autumn months is a fantastic solution for urban growers, small-space gardeners, or anyone who wants an effortless, set-it-and-forget-it crop over the winter.
When you think of a garlic farm, you might picture long, muddy garden rows tucked under winter frost. While they love a good chill, garlic cloves actually adapt beautifully to container life. So, why should you consider growing them in a pot this fall?
-
Effortless Winter Use of Space: Fall is when most balcony gardens wind down. Planting garlic in containers lets you put those empty pots to work all winter long without taking up extra space when summer arrives.
-
Superior Soil Drainage: Winter rains and melting snow can quickly turn ground soil into soggy mud, rotting delicate garlic cloves before spring even arrives. In a container, you have total control over the drainage environment.
-
Zero Weed Competition: Garlic hates competing with weeds for soil nutrients. Growing in pots gives your cloves a clean, weed-free home so every drop of energy goes straight into building huge bulbs.
But how do you get started before the ground freezes? Let’s dive into the steps!
Preparing for Growing Garlic in Pots
Choosing the Right Container
When it comes to container gardening for fall garlic, picking the right pot will ensure your cloves survive the winter cold and expand into fat heads come spring.
-
Size Matters: Garlic roots need room to stretch downward, and bulbs need breathing room to expand. Choose a container that is at least 8 to 10 inches deep. To grow a cluster of bulbs, aim for a wide pot (a 5-gallon bucket or wide window box works brilliantly).
-
Drainage is Key: If there is one thing you take away from this guide, let it be this: garlic cloves will turn to mush if trapped in stagnant water over the winter. Ensure your container has plenty of large drainage holes at the bottom.
-
Material Choices: Heavy resin, thick plastic, or glazed ceramic containers are ideal for fall planting. Unglazed terracotta can sometimes crack during deep winter freeze-thaw cycles, while fabric grow bags work great if placed in a sheltered spot!
Best Soil Mix for Pots
Your garlic cloves prefer a fluffy, rich, and well-draining soil that won’t pack down tightly under heavy winter rain.
-
Soil Type: Never use heavy garden soil, it compacts tightly in containers and suffocates dormant cloves. Instead, opt for a high-quality potting mix and blend in equal parts of perlite or coarse sand to boost drainage. Toss in a generous handful of worm castings or aged compost to provide slow-release nutrients for spring.
-
pH Level: Garlic thrives in neutral to slightly acidic soil, ideally with a pH between 6.0 and 7.0.
How to Plant Fall Garlic in Containers
Now that you’ve got your pot and soil ready, it’s time to get planting! Autumn timing is everything when it comes to setting up your future summer harvest.
Choosing Your Garlic: Hardneck vs. Softneck
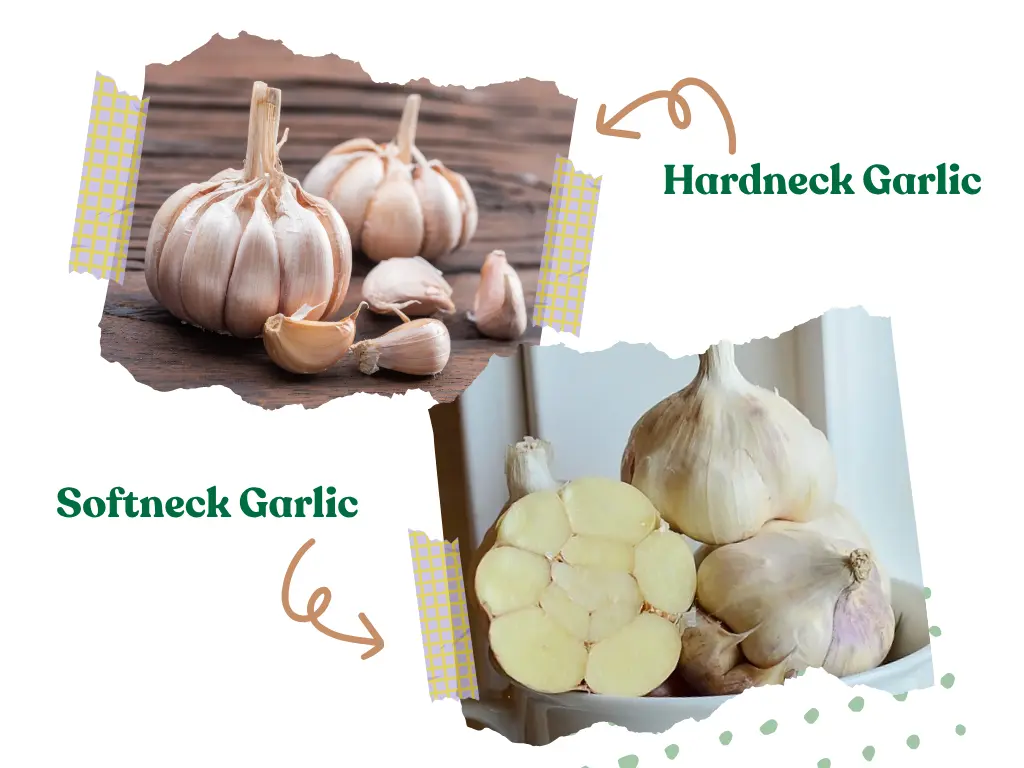
Always buy seed garlic from a local nursery or online supplier rather than using grocery store garlic (which is often treated to prevent sprouting):
-
Hardneck Garlic: The top choice for cold northern climates. It produces a stiff central stem, delicious curly “scapes” in spring, and big, easy-to-peel cloves.
-
Softneck Garlic: Great for milder southern winters. It yields more cloves per head, stores for a really long time, and features pliable stems perfect for braiding!
Read more: Best Types of Garlic You Must Grow Once in Your Garden
Planting Garlic in Containers
-
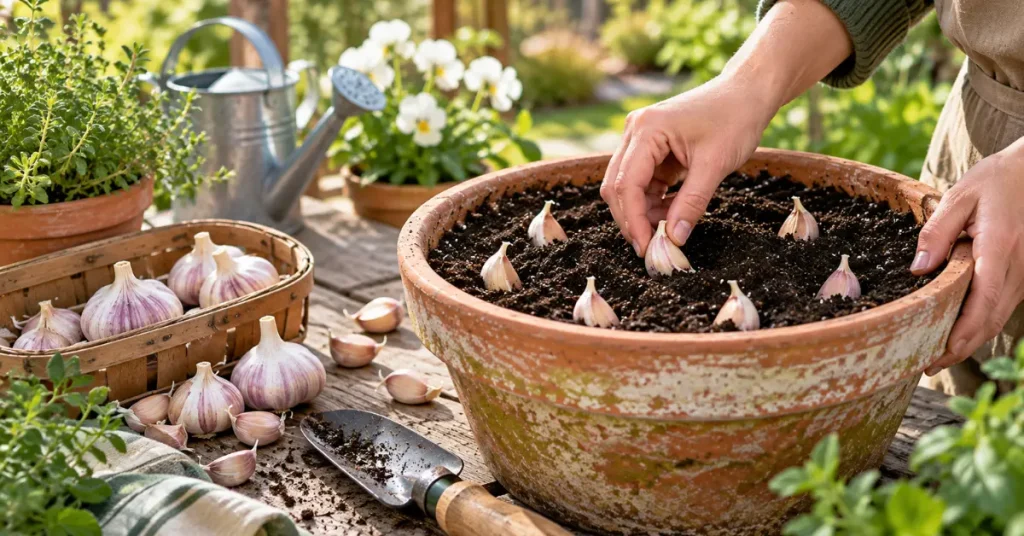
Break apart the head: Carefully separate your garlic bulb into individual cloves right before planting. Keep the papery skin on every clove! Save the tiny inner cloves for cooking and plant only the plump, fat outer cloves.
-
Fill your container: Add your well-draining soil mix to the pot, leaving about 3 inches of space from the rim.
-
Position the cloves: Place each clove upright with the pointy tip facing up and the flat root base facing down. Space cloves 4 to 6 inches apart so the growing heads don’t crowd each other.
-
Cover and press: Cover the cloves with 2 inches of soil mix and press down gently to eliminate air pockets.
-
Water well: Give the pot a thorough soak to settle the soil around the cloves, then get ready for overwintering!
Potting and Overwintering Garlic Containers
Since your garlic container will sit outdoors through the freezing months, giving it a quick winter blanket keeps the roots happy:
-
Add Mulch: Cover the top of the soil with a thick 2 to 3-inch layer of straw, shredded leaves, or wood chips. This insulates the soil against extreme temperature swings.
-
Placement: Place your pot outdoors in a spot that gets winter sun. If you live in a region with extreme sub-zero winters (Zone 4 or lower), push the container against a warm wall of your house or tuck it into an unheated garage during the deepest freezes.
Caring for Container Garlic Through Fall and Beyond
Treat your fall-planted garlic like an easygoing, cold-hardy friend. Give it a cozy fall start, let it sleep through winter, and feed it well when spring arrives!
Sunlight and Winter Cold
Garlic needs exposure to cool temperatures (below 40°F / 4°C) for several weeks to trigger the single clove to split into a multi-clove head, a process called vernalization. Keep your pots outside! Once spring breaks, make sure your container gets at least 6 to 8 hours of direct sunlight daily to power leaf growth.
Water Management
-
Fall & Winter: Water thoroughly once after planting. During late fall and winter, natural rain and snow will usually provide all the moisture the dormant cloves need. Only water manually if you experience an unusually dry autumn streak.
-
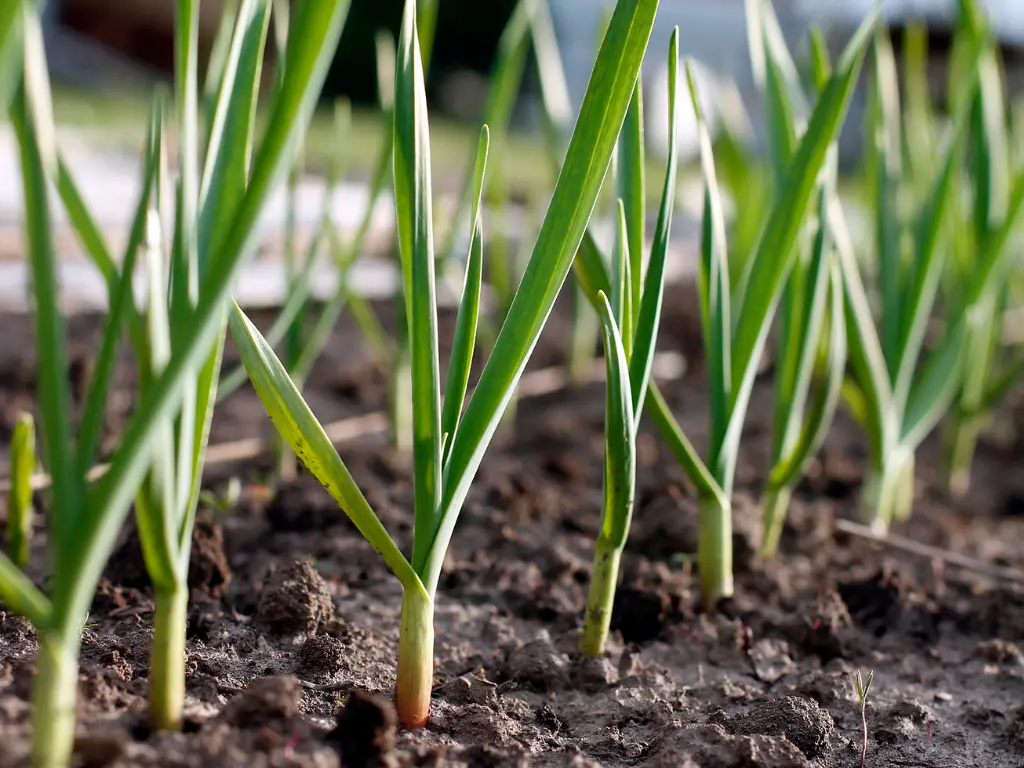
Spring & Summer: Once green shoots pop up in spring, keep the soil consistently moist. Water whenever the top inch of soil feels dry to the touch.
Spring Feeding Boost
Because potted nutrients wash away with winter rain, give your garlic a boost once green shoots reach 4 to 6 inches tall in spring:
-
Feed Bi-weekly: Apply a nitrogen-rich liquid fertilizer (like fish emulsion) every two weeks through early spring to build massive green leaves.
-
Stop in Early Summer: Stop fertilizing completely by late spring when the plant shifts its energy from growing leaves to plumping up the underground bulb.
Snipping Garlic Scapes
If you are growing Hardneck garlic, your plant will send up a tall, curling stem in late spring called a “scape.”
Pro-Tip for Bigger Bulbs: Snap or snip off these curling scapes as soon as they loop around! Removing the scape forces the plant to channel all its remaining energy straight down into the bulb. Plus, garlic scapes are delicious when sautéed in butter or blended into fresh pesto!
Common Problems and How to Solve Them
Yellowing Leaves in Early Spring
If leaf tips turn pale yellow in spring, your garlic is likely hungry for nitrogen or recovering from a late spring frost. Give it a drink of liquid fish emulsion to boost foliage growth. If bottom leaves turn brown in early summer, don’t panic, that’s just a sign the bulb is maturing!
Soggy Soil and Clove Rot
If your cloves fail to sprout in spring, dig one up to check. If it feels soft and mushy, overwatering or poor container drainage caused root rot over the winter. Always use light potting mix and ensure your pot’s drainage holes aren’t blocked.
Small or Single-Clove Bulbs
Did you harvest a single, undivided bulb (a “round”)? This usually happens if the cloves didn’t experience enough cold winter chill, were planted too late in spring, or were shaded by nearby structures. Plant in mid-to-late autumn and maximize direct spring sunshine!
Harvesting and Curing Your Homegrown Garlic
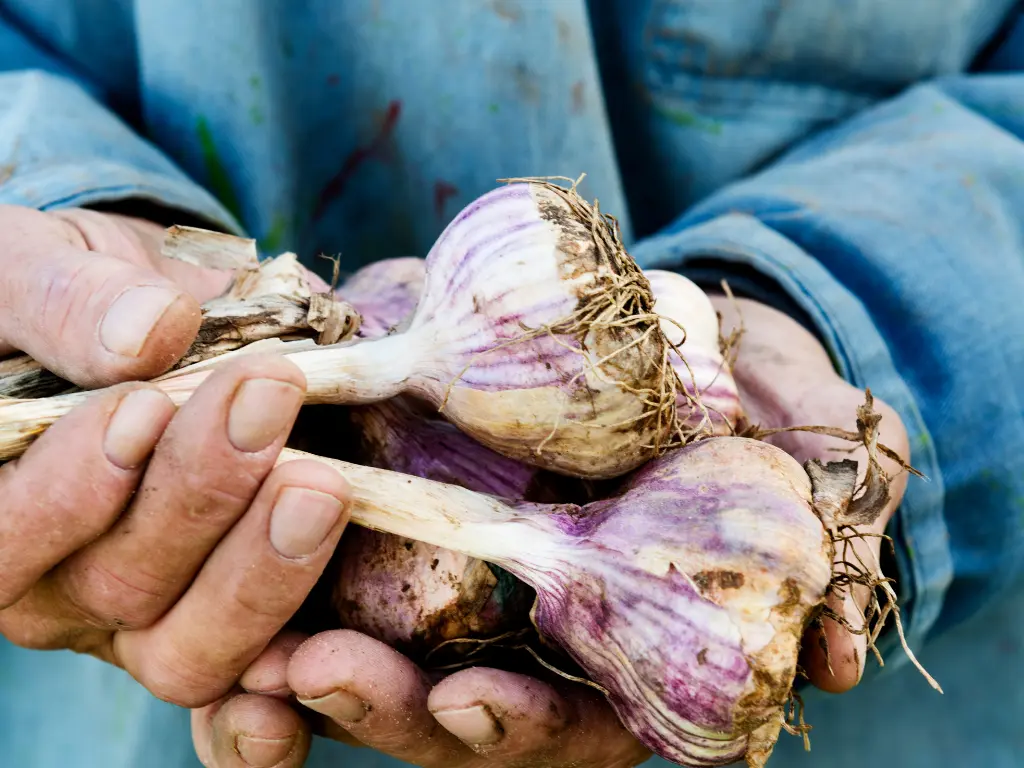
Patience is key! Your fall-planted garlic will be ready to harvest in mid-to-late summer (usually around June or July).
When and How to Harvest
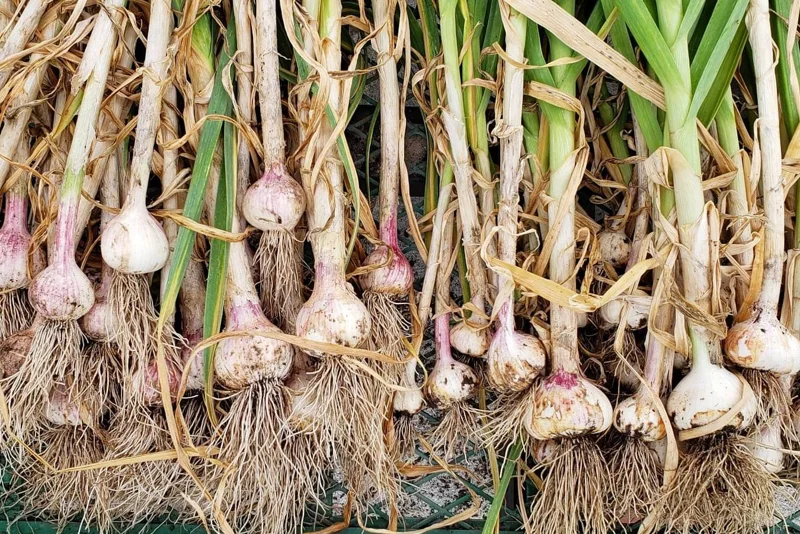
Stop watering your container completely when the bottom 3 to 4 leaves turn brown and papery while the top 5 to 6 leaves are still green. Gently loosen the soil around the bulbs with your fingers or a small trowel; never yank on the stem directly, as it can snap off the head! Carefully lift the plump garlic head out of the soil.
Curing Garlic for Long Storage
If you want your harvested garlic to keep for months in your pantry, you must cure it first:
-
Brush off loose soil, but do not wash the bulbs with water! Keep the roots and leaves attached.
-
Hang the whole plants in bundles or lay them flat in a cool, dry, well-ventilated spot out of direct sunlight for 2 to 3 weeks.
-
Once the stems and outer wrappers are completely dry and papery, trim the roots to 1/2 inch, snip the stems, and store your homegrown crop in a mesh bag!
Conclusion
Growing garlic in containers this fall is a wildly rewarding, low-effort journey that yields rich kitchen rewards come summer. By planting plump cloves in well-draining soil, letting winter do its cold magic, and feeding them well in spring, you’ll have a striking, aromatic crop straight from your patio.
So, are you ready to tuck your own garlic cloves into pots this autumn? Happy fall planting; protect your cloves from soggy soil, and may your summer harvest be bold and flavorful!
Frequently Asked Questions (FAQs)
When is the exact best time to plant fall garlic in containers?
Aim to plant your cloves about 2 to 4 weeks before your area’s first hard freeze, usually between late September and November depending on your region. This gives the clove enough time to build roots underground without pushing tender green leaves above the soil before winter hits.
Can I grow grocery store garlic in pots this fall?
You can try, but it’s risky! Most supermarket garlic comes from softneck varieties grown in warm climates and is often treated with growth inhibitors to stop sprouting on shelves. For guaranteed success, buy certified disease-free seed garlic from a local nursery.
How many garlic cloves can I plant in a 5-gallon container?
A standard 5-gallon bucket (about 12 inches in diameter) can comfortably hold 4 to 5 garlic cloves spaced 4 to 6 inches apart. Giving each clove enough space ensures big, full-sized heads at harvest time!
Can I keep my garlic container indoors on a windowsill?
It’s not recommended. Garlic needs a sustained period of cold winter weather outdoors to form individual cloves. Without cold exposure and intense full-day sunlight, indoor container garlic will only yield thin green tops rather than large bulbs.
You may like:

Growing Garlic in Containers This Fall: A Complete Guide for Beginners
If you’ve ever wanted to pop fresh, aromatic garlic cloves straight from your own patio [...]
Sep
Growing Camellia Sinensis (Tea Plants) in Containers: A Complete Guide for Beginners
If you’ve ever wanted to sip a steaming, homegrown cup of fresh green, black, or [...]
Aug
6 Best Shrubs to Plant in August You Must Try
Have you ever walked through a nursery late in the summer, admired the vibrant shrubs [...]
Aug
Growing Everbearing Strawberries in Containers: A Complete Guide for Beginners
Want to grow sweet, fresh strawberries but do not have a large garden? Everbearing strawberries [...]
Aug
Growing Egyptian Walking Onions in Containers: A Complete Guide for Beginners
If you’re looking for a hardy, no-fuss perennial onion that keeps on giving year after [...]
Jul
Growing Carolina Reaper Peppers in Pots: A Complete Guide for Beginners
If you’ve ever wanted to add some serious, record-breaking heat to your home cooking, you’ve [...]
May